It may seem that all I paint is fire and skulls but practice makes perfect and the quicker I can paint them the faster I can create designs.
The new airbrush I ordered came in last week and this is the first job with it. I bought my last IWATA HP-C's about 20 years ago. Mind you there was about 10 years where they sat and collected dust.
I finally decided on the IWATA HP-C Highline and it is a great airbrush. This helmet was my first attemt with the airbrush and I am hoping to get at it again this week but so far, I like it. At some point this week I will have to clear the helmet.
The new airbrush has what is called a mack valve, It allows you to adjust the air flow and I think this will serve very useful when it comes to fine detail with autoair white and black. I tend to dillute them more than recommended to help stop spitting and tip dry.

After prepping the helmet, I basecoated the helmet with Autoair black and then clear coated it. After wet sanding the helmet I was ready to start painting.
I started by lightly spraying the skull template with black. This will give me a guide to freehand airbrush the skulls.

Using a moss green color mixed with white, I started freehanding the skulls. Here I am adding basic detail. I will then go back and forth with black and the moss color mix to get the effect I am looking for.

The paint work took me a little over ten hours. Probably longer than I should have but I was playing with the various controls of the airbrush and paint consistancy. I still had issues with the tip dry and had to constantly clean the tip by pinching the needle end and pulling off the paint. You have to keep a close eye on this or you will get ugly spitting.

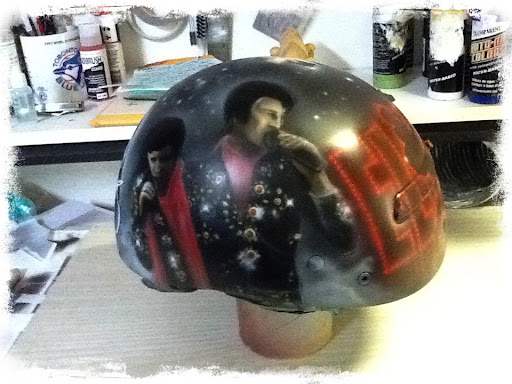
I also got the chance to use another one of my Harley logos cut with my Redsail cutter. The logo is about as small as I think I can cut but is a good size for helmets. It is a pain to strip the removable masking but I am so happy I don't have to cut it out by hand. So here are pics of the various sides.
Overall I am happy and picked up a few new tricks.
This was also the first time I painted barb wire. It wasn't as hard as I though and turned out pretty clean. I used 2 masks to create the effect.
First I cut a wavy cut through a piece of masking film separating it into 2 pieces. I layed them down on the helmet separating the pieces the width of the barb wire. I then sprayed the gray. I then replaced the pieces in a different formation so they criss crossed and sprayed the color.
I then cut the small barbwire tab and placed it over where the wires crossed and sprayed white to cover the surface. Using black and a curved template I sprayed the coil with two light passes. I then moved them to the other areas and did the same. I used diluted black to create the shadows and white for highlights. Pretty simple! Hope this works for you!
d

 ou can think of.